1. Create an Account
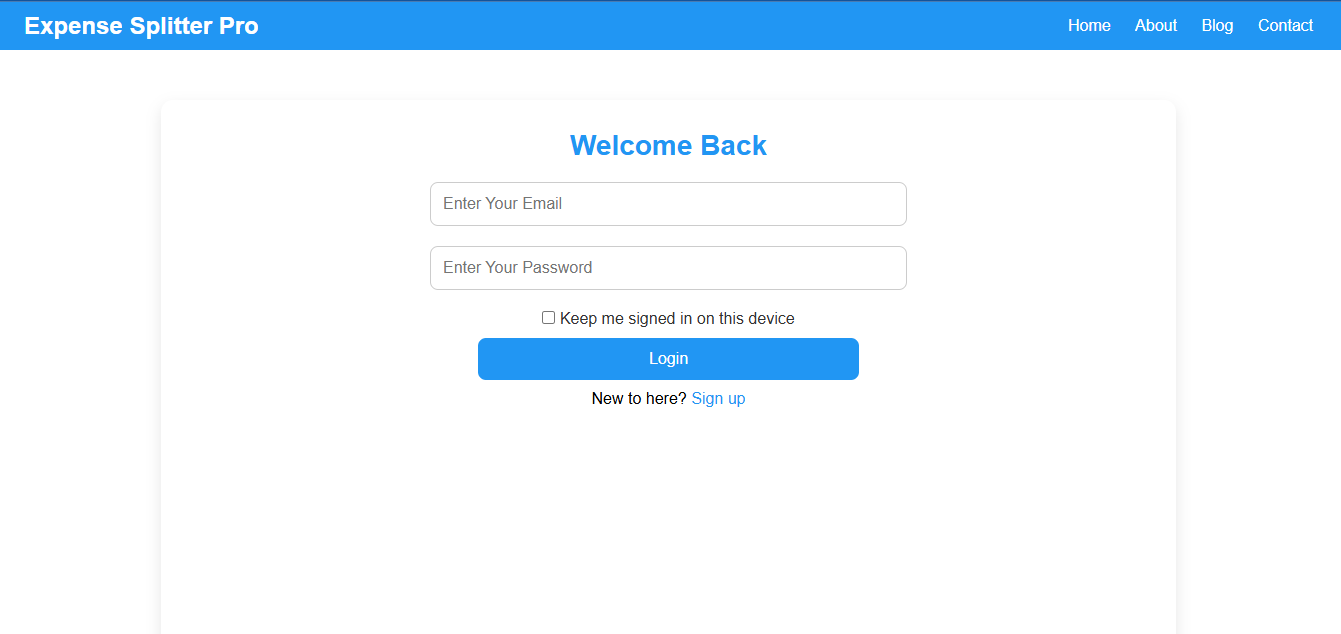
Start by visiting Expense Splitter Pro and signing up for an account. Registration is quick and easy—you can use your email or sign up with Gmail for instant access.
Managing shared expenses during group trips, road trips, or family vacations can be challenging. Whether you're splitting the cost of a beach house or tracking expenses for a road trip, Expense Splitter Pro is the ultimate tool to simplify your group expense management. In this guide, we’ll show you how to use Expense Splitter Pro effectively while highlighting its features and benefits.
Start by visiting Expense Splitter Pro and signing up for an account. Registration is quick and easy—you can use your email or sign up with Gmail for instant access.
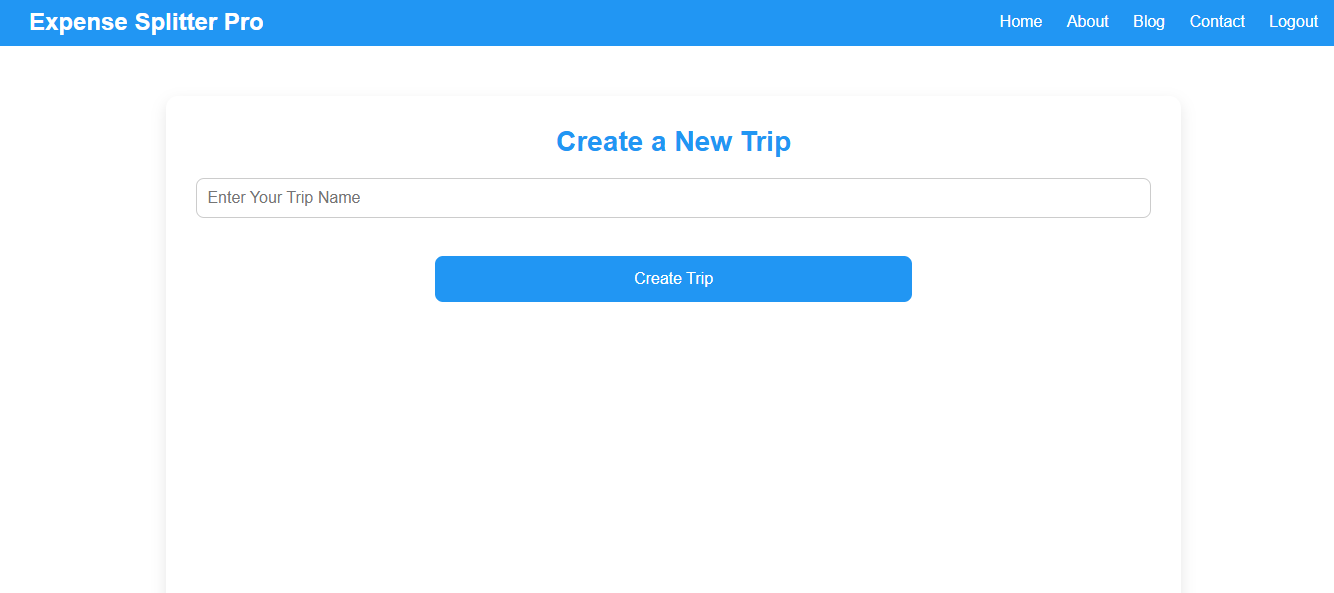
After logging in, click the "Start Trip" button. You’ll have two options:
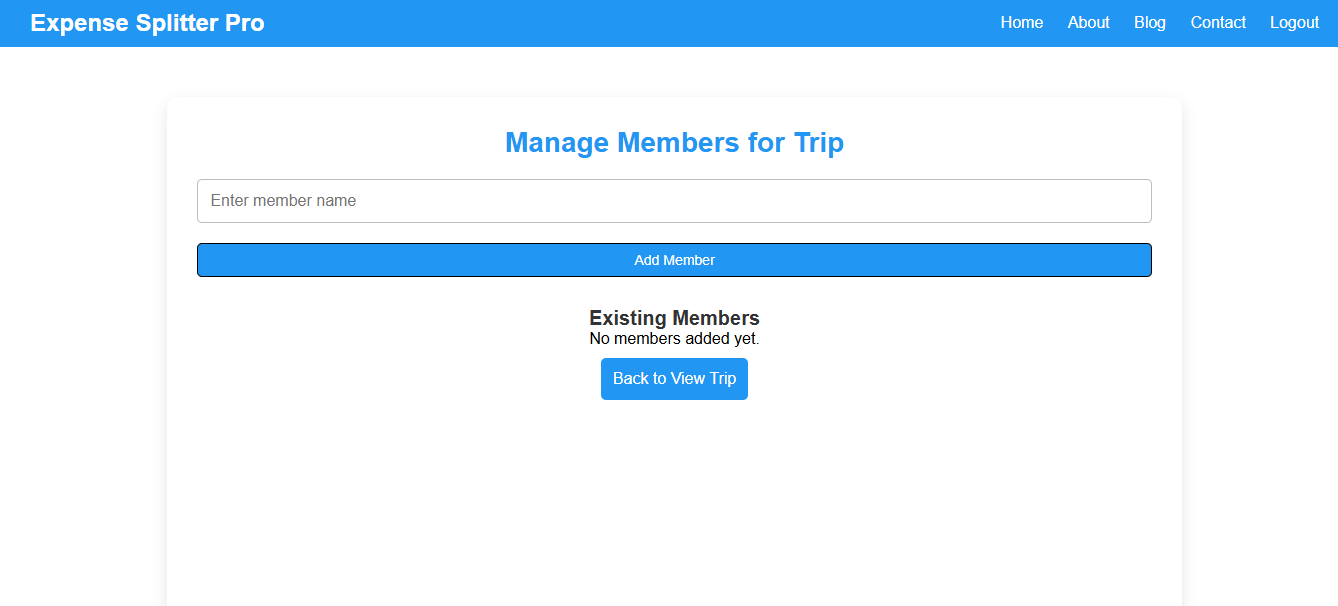
Invite your group by adding their names and emails. This ensures everyone’s expenses and contributions are tracked under the trip.
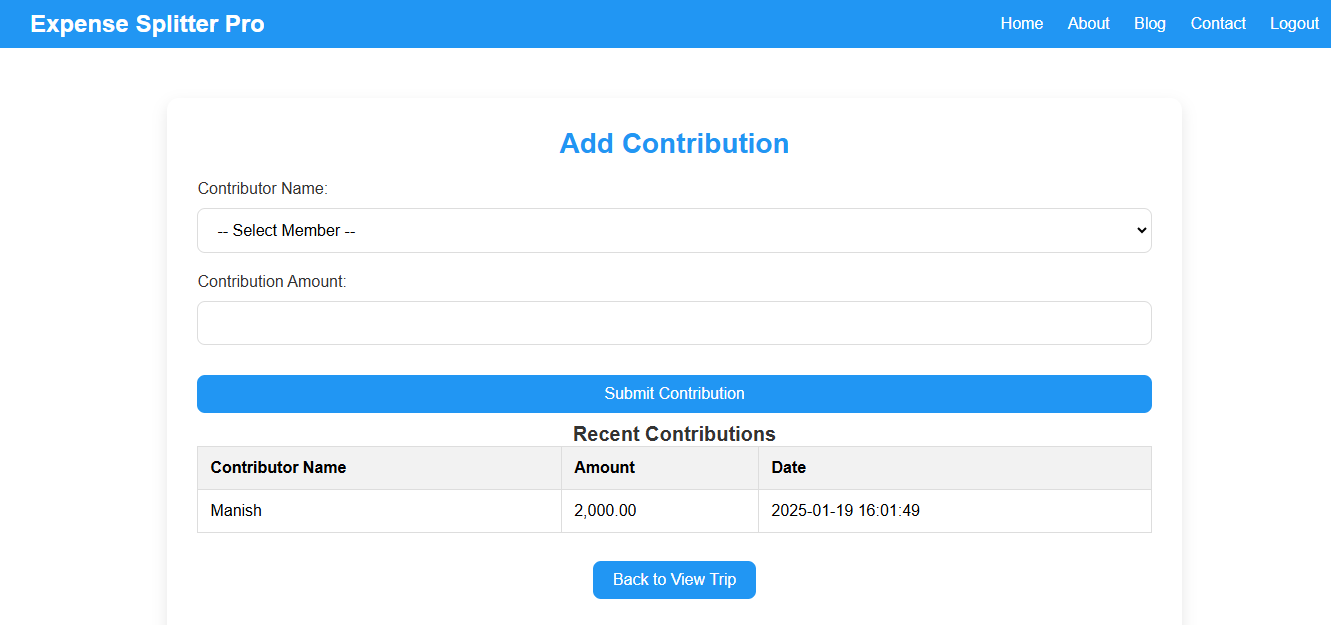
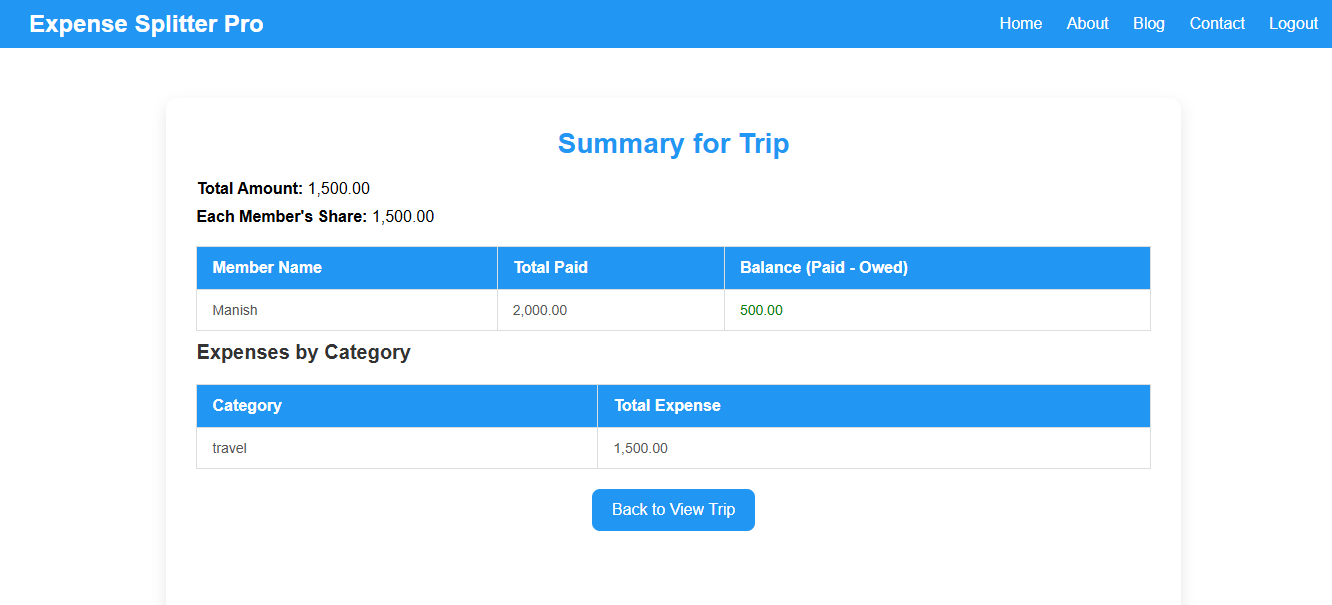
Start by entering the name of the member and the amount they contributed. This will help you easily track individual contributions and ensure everyone’s expenses are covered.
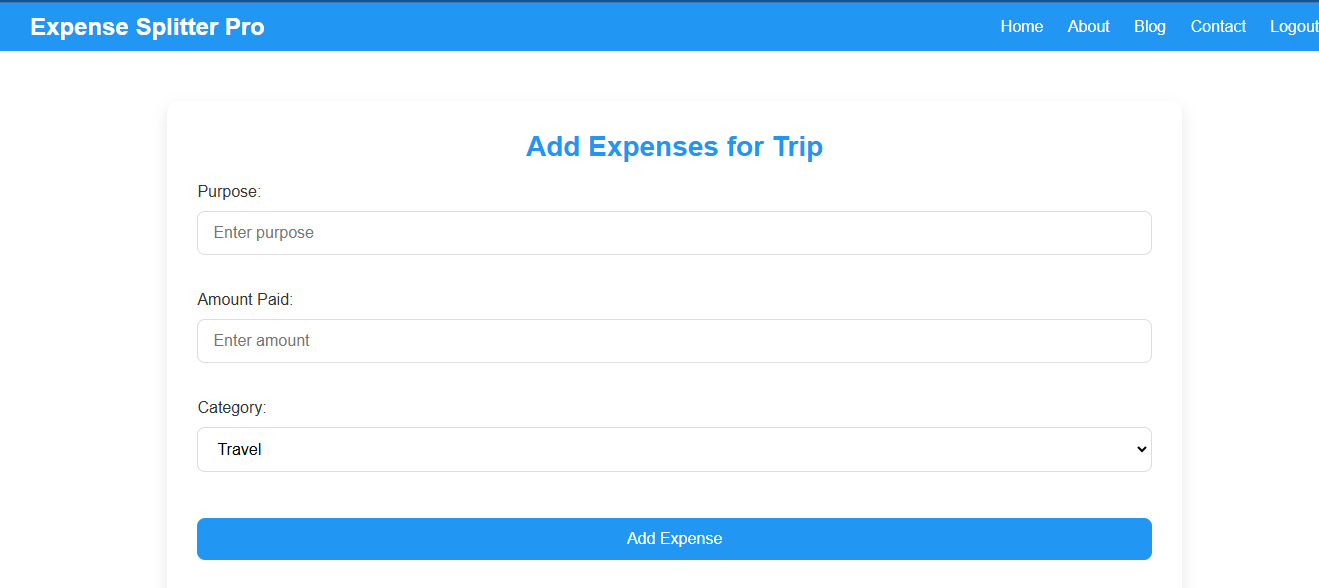
For every group expense:
Go to the Summary page to see:
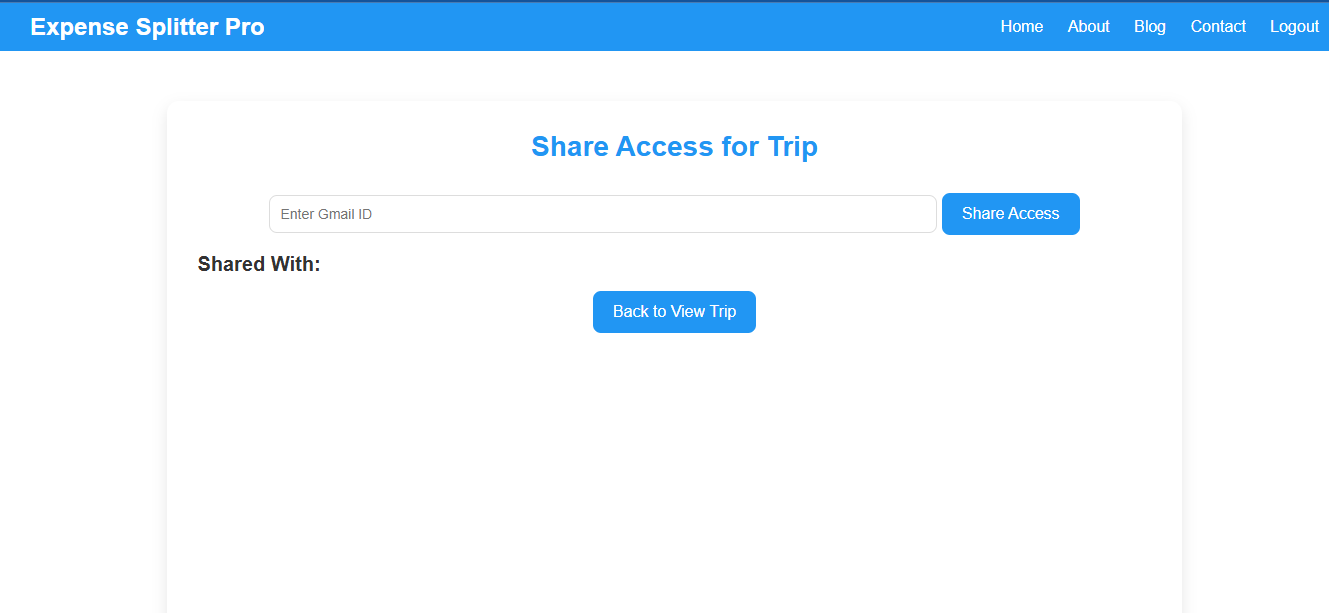
Once all expenses are added, share the trip summary with your group. You can give access to everyone on his email id.
Yes, Expense Splitter Pro offers free access to basic features for managing group expenses.
Absolutely! The tool is ideal for splitting rent, household expenses, and even one-time group dinners.
No, Expense Splitter Pro requires an internet connection to ensure your data is updated in real-time.